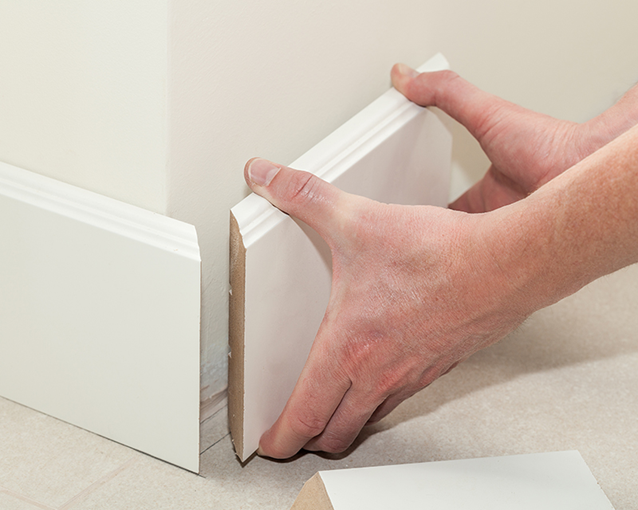

Skirting boards don’t just finish the design of the room, they protect the bottom of the wall from getting scuffed and damaged. Yet skirting boards often display signs of wear and tear due to marks and dents from previous or if you have small children or pets bumping against them.

What You Need
- Selleys Liquid Nails Heavy Duty
- Caulking Gun
- Skirting board cut to size
- Knife/Blade
Step-by-Step Guide
- Ensure surfaces are dry and free from oil, grease and dust. Wipe off any pooled water from wet timber.
- Cut cartridge tip and pierce foil, attach nozzle and cut to size (5mm), then insert into caulking gun.
- Apply Selleys Liquid Nails Heavy Duty with a zig zag pattern along the adhesion area.
- Position pieces and press firmly together. Fix with sufficient nails, screws or clamping to hold load and achieve contact over total bond area. Repositionable for up to 20 minutes after fitting.
- Allow adhesive to set (minimum 8 hours) before removing any temporary fasteners or clamping. Use with mechanical fasteners in high stress applications.
Handy Tips
- If the skirting board is slightly tilted and doesn’t fit perfectly along the wall, put bricks up against it to hold it in position while the adhesive cures.

