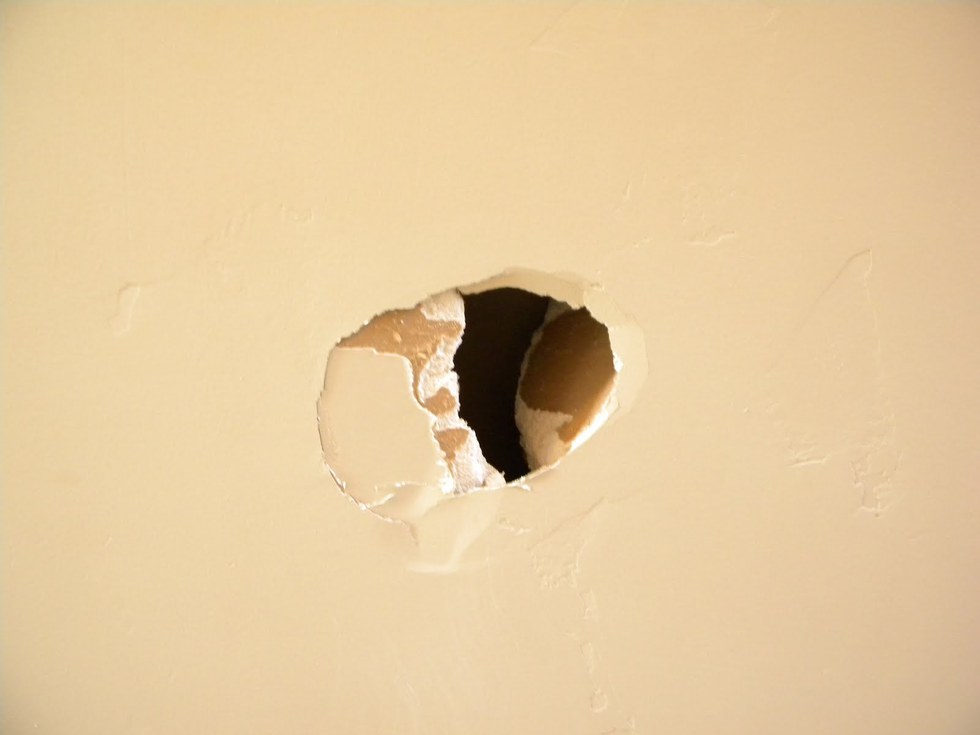

If you've got kids, at some point, you're going to have to deal with a hole in a plaster wall.
So here's how to fill a large hole quickly and with minimal mess!

What You Need
- Selleys No More Big Gaps
- Caulking Gun
- Cloth for cleaning
- Spatula
- Blade
Step-by-Step Guide
- Ensure the surface is clean, dry and free from dust, grease, flaking/powdery paint and old or crumbling caulk. For best performance, moisten surfaces by spraying with water (a plant sprayer is ideal).
- Wear gloves and eye protection. Product is difficult to remove from skin and clothing.
- Shake can vigorously for 60 seconds.
- Screw nozzle onto can valve. Do not over tighten.
- Turn can upside down and gently apply pressure on the trigger to extrude the product. Vary the pressure to control product flow. Fill half the space. Do not overfill as product will expand up to 2.5 times its volume over several hours.
- For extended usage continue to shake the can from time to time.
- Clean up any overspray and spillage immediately with a dry cloth. Acetone/nail polish remover will assist.
- Product will be tack free in 15 minutes and fully cured in approximately 4 hours. Once cured, product can be cut back with a sharp knife or sanded with a sanding block.
- Your wall is ready to paint!
Handy Tips
- Use the gloves enclosed in the lid
- Full expansion is not immediate, so don’t overfill the hole.
- If you spray a small amount of moisture onto the surface, or wipe it with a wet rag, it will increase the expansion.
- If using the product outdoors, paint over the application to improve its durability.
- If a hole is greater than 5cm, apply once and allow the product to fully cure, which is approximately 4 hours and then apply for a second time.

