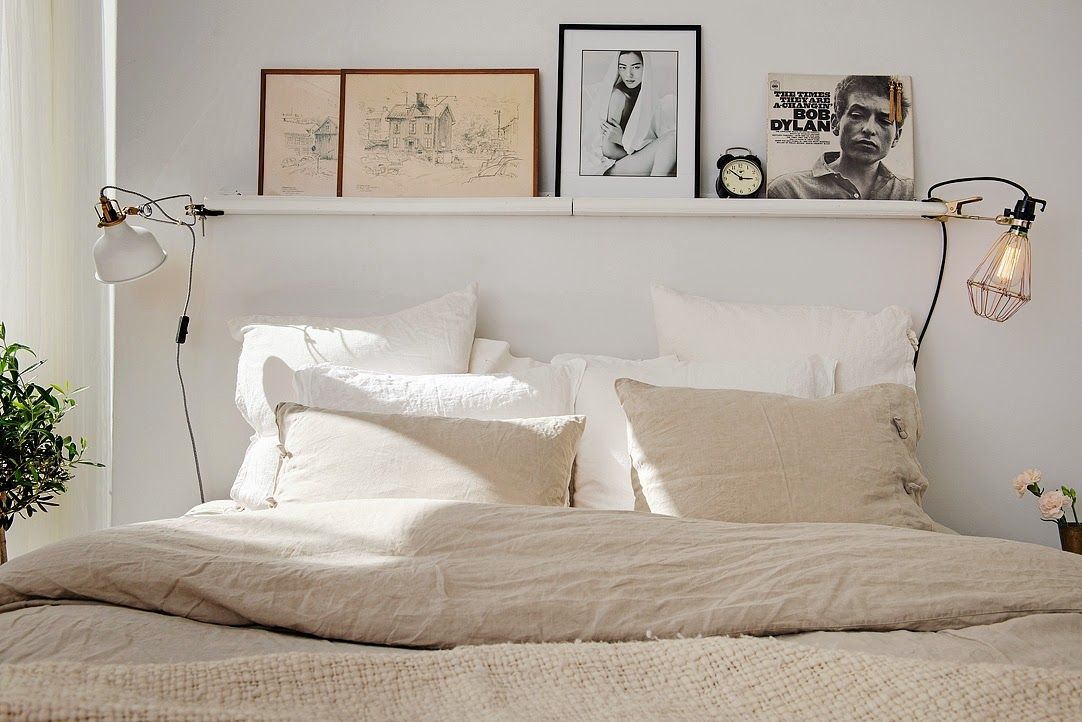

Wall shelves are a great way to decorate your bedroom. Not only can you reduce the clutter, you’ll also be giving your walls a new look with this simple but stylish piece of DIY décor.

What You Need
- Selleys Liquid Nails
- Shelf
- Soft marking pencil
- Shelf bracket
- Wall anchors
- Drill
- Screws
Step-by-Step Guide
- Ensure the shelves are free from oil, grease and dust. Wipe off any pooled water from wet timber.
- Cut cartridge tip, fit nozzle and cut to desired opening (5mm) then insert into caulking gun.
- Apply Liquid Nails on the bracket and place the bracket on the marked spots.
- Temporarily fasten masking tape across the brackets while the adhesive dries up for at least 24 hours.
- After 24 hours, remove the masking tape and place the platform on the shelve (Note: Some units require additional screw from the platform to the bracket).
- Bam! You’ve got yourself a beautiful shelve in your bedroom!

