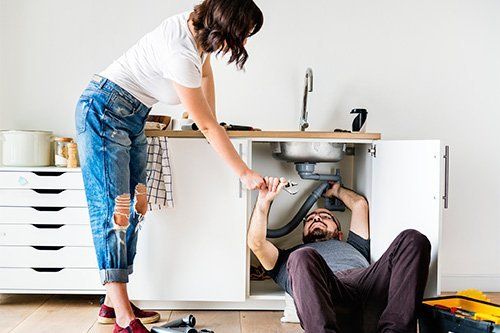

Does DIY seem a little too far-fetched to you? While there are tasks we can leave to professionals, there are definitely jobs around the home you can do yourself.

1. Installing Bathroom Accessories onto Tiles
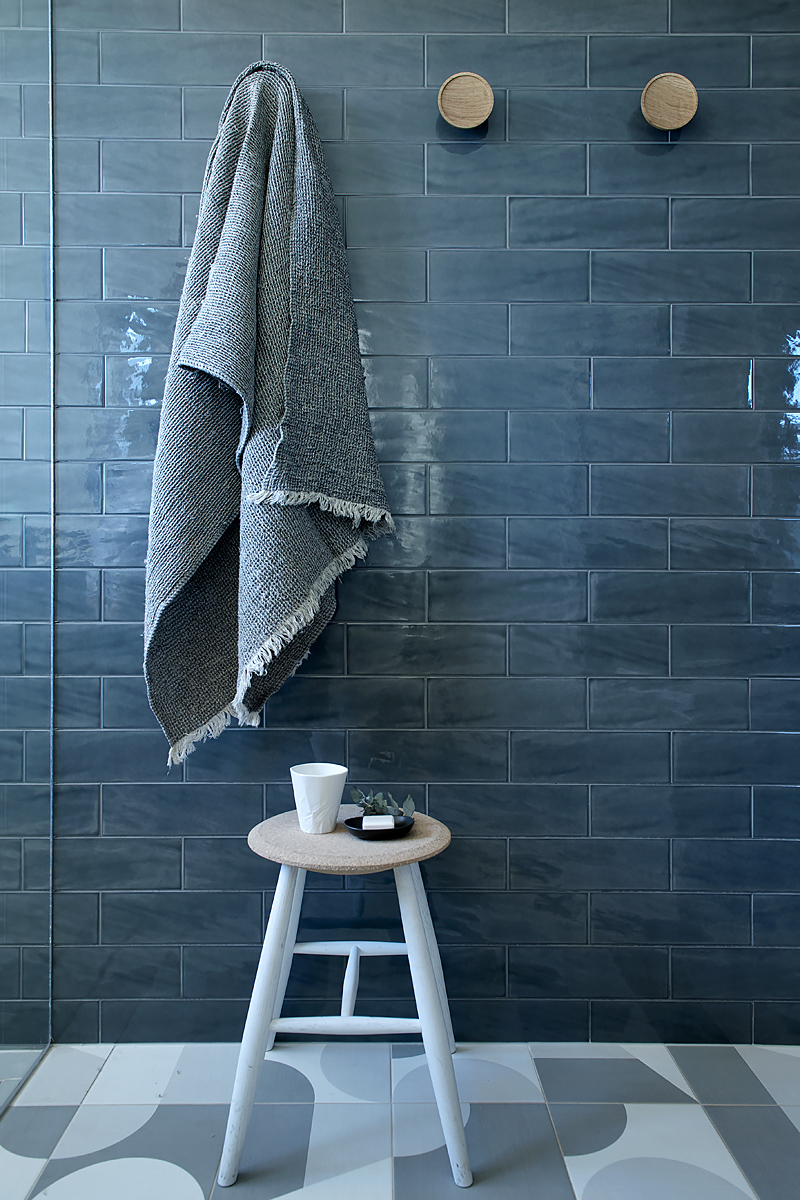
Do your bathroom accessories need a refresh? Or perhaps they’ve fallen off and you’re due for an update? Whatever the reason is, Selleys Liquid Nails, makes the job super simple – no drilling required!
DIY tool kit:
- Selleys Liquid Nails,
- Bathroom accessories,
- Cloth.
DIY Guide:
- Ensure surfaces are clean (sand surfaces, if required), apply Selleys Liquid Nails, to the back of the accessory, position in place and press firmly against wall.
- Contact Bond Method: For immediate bond use contact bond method, apply to one surface only, press together and pull apart. Allow surfaces to dry 1 minute, before firmly joining.
- Clean any excess immediately with methylated spirits. Wait for at least 24 hours (longer in cooler or dry conditions) before using.
*Ensure accessories have a flush back, not inset.
2. Fixing a Loose Pool Tile
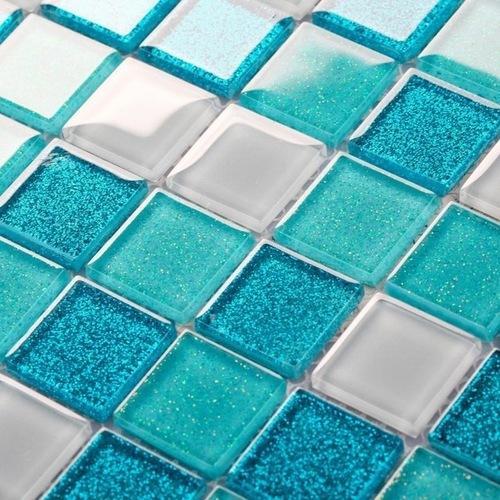
Do you know what it feels like to get to the end of a puzzle and be left with a missing piece? That’s what your pool must look like. Unfinished, forever a work-in-progress. Did you know you can actually fix it, without having to drain the pool?
DIY tool kit:
- Selleys Knead It Underwater
- Cloth
DIY Guide:
- Ensure the surface is clean. Cut off required amount of Selleys Knead It Underwater. To mix, knead with fingers to uniform colour.
- Apply to surface to be repaired (within 12 minutes of mixing) and work the material forcefully into the surface applying pressure until adhesion begins to take effect. Mould to shape if required.
- After 20-30 minutes, Knead It Underwater will harden and begin to form a strong bond. Allow for longer cure times at lower temperatures.
- Your pool now is just as new !
3. Patching A Large Hole
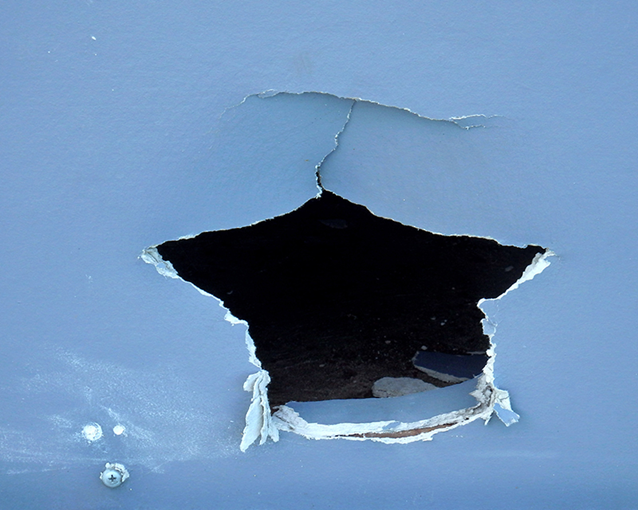
Goodness! If you can see deep into the void of your walls, you’ve got a problem. Luckily, it’s one you can fix and without much effort. So, before you get lost down the rabbit hole, try this clever cover up.
DIY tool kit:
- Selleys No More Gaps
- 240grit sandpaper
- Cloth
- Spatula
- Blade
DIY Guide:
- Ensure the surface is clean, dry and free from dust, grease, flaking/powdery paint and old or crumbling caulk.
- Shake can vigorously for 60 seconds.
- Screw nozzle onto can valve. Do not over tighten.
- Turn can upside down and gently apply pressure on the trigger to extrude the product. Vary the pressure to control product flow. Fill half the space. Do not overfill as product will expand up to 2.5 times its volume over several hours.
- For extended usage continue to shake the can from time to time.
- Clean up any overspray and spillage immediately with a dry cloth. Acetone/nail polish remover will assist.
- Product will be tack free in 15 minutes and fully cured in approximately 4 hours. Once cured, product can be cut back with a sharp knife or sanded with a sanding block.
- Wall is ready to be painted over!
4. Repairing a Chipped Tile
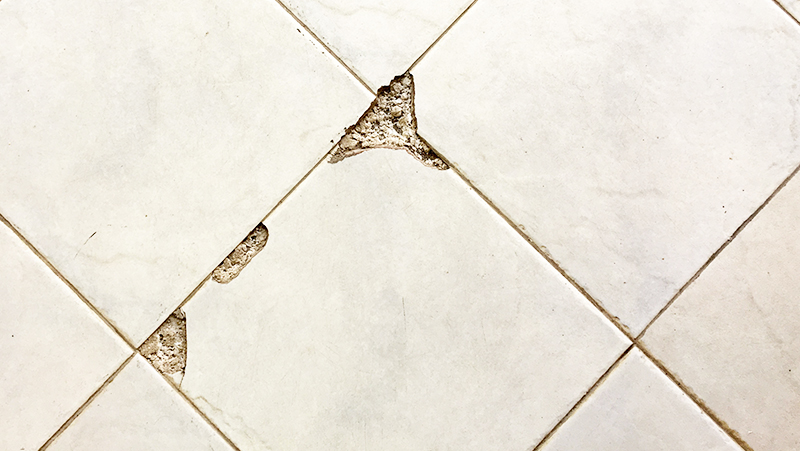
Cracked or chipped tiles are a part of life. They’re bound to happen at some point, but depending on the extent of the damage, you may not need to replace the whole tile. For small chips or cracks, you can repair them with Selleys Knead It Multipurpose.
DIY tool kit:
-
- Selleys Knead It Multipurpose
- Utility knife
- Sandpaper
- Cloth
- Spatula
DIY Guide:
- Clean the surface thoroughly.
- Using a utility knife, cut off a piece of Selleys Knead It Multipurpose (no less than 1.5cm). Wearing gloves, knead product together until the product is warm, soft and uniform in colour.
- For cracks, using a flexible spatula, forcefully work the product into the surface. For chips, fill the gap and mould to fit.
- For a smooth appearance, remove excess product with a damp cloth before it hardens. Allow to dry for 2-3 hours and sand to shape.
5. Sealing Leaking Gutters

A leaking gutter can go from 0 to 100, and if you don’t get on top of this small issue, you’ll have bigger problems to face later. But you’re in good hands, Selleys Blockade can be applied directly to a leaking gutter – it can stop leaks in the rain in an instant!
DIY tool kit:
- Selleys Blockade
- Caulking gun
- Thinner
- Spatula
- Cloth
DIY Guide:
- Clean gutter of any dirt, grease of grime. Fit Selleys Blockade into a caulking gun and apply to joints or gaps. Smooth off with a spatula dipped in thinner. While it forms an instant seal, do not disturb until cured (approx. 48hrs).
- *Not suitable for plastics such as polyethylene and polypropylene or plugging leaks subject to pressure.

